-

Fix the screenshot keyboard shortcut
I love my Logitech MX Keys for Business keyboard. It is wireless, has a low profile and feels soft. I got one for work, and then one for home as well. But they turn out to be slightly different. For one of them, the screenshot key wasn’t working with my Dell Precision 5480 with Ubuntu…
-
Import type
Wild TypeScript caveat appeared! In a destructuring type import, it apparently makes a difference whether the type keyword is inside or outside the curly braces: import type { A } from “a” – import skipped import { type A } from “a” – the import remains It seems this is designed for cases where the…
-

Ett försök på Bohusleden etapp 1
Pluva och jag har börjat göra dagsvandringar, och idag gav vi oss på etapp 1 av Bohusleden. Tidigare har vi gjort etapperna 2–4 och delvis 6. Etappen är 26 km, men vi fick lägga till 3 km i början för att ens komma från tåget till startpunkten. Vädret skulle bli runt 1 °C, lite blåsigt…
-
Debounce inside a Vue composable
In the Queerlit frontend, I keep a query object in vuex state, and there’s a helper function for modifying the query object and then immediately performing a search request. This helper lives in a composable, useSearch() in search.composable.js. The search function is debounced, because it may be issued multiple times, quickly in succession. This happens…
-
I have been adding Matomo tracking to the Queerlit frontend, using Dennis Ruhe’s vue-matomo plugin. The plugin hooks nicely into the router and tracks page views for each route change. It has not, however, been tracking the page title. My first attempt to fix this was by sending the setDocumentTitle event after async-fetching the data…
-

-
Streams in Vite
I’m trying to use N3 to parse and query Turtle files in a Vite/Vue 3 project. The N3 readme says “N3.js seamlessly works in browsers via webpack or browserify” and I had trouble interpreting what that would mean in a Vite context. I made an attempt at properly learning all about bundling, but I did…
-
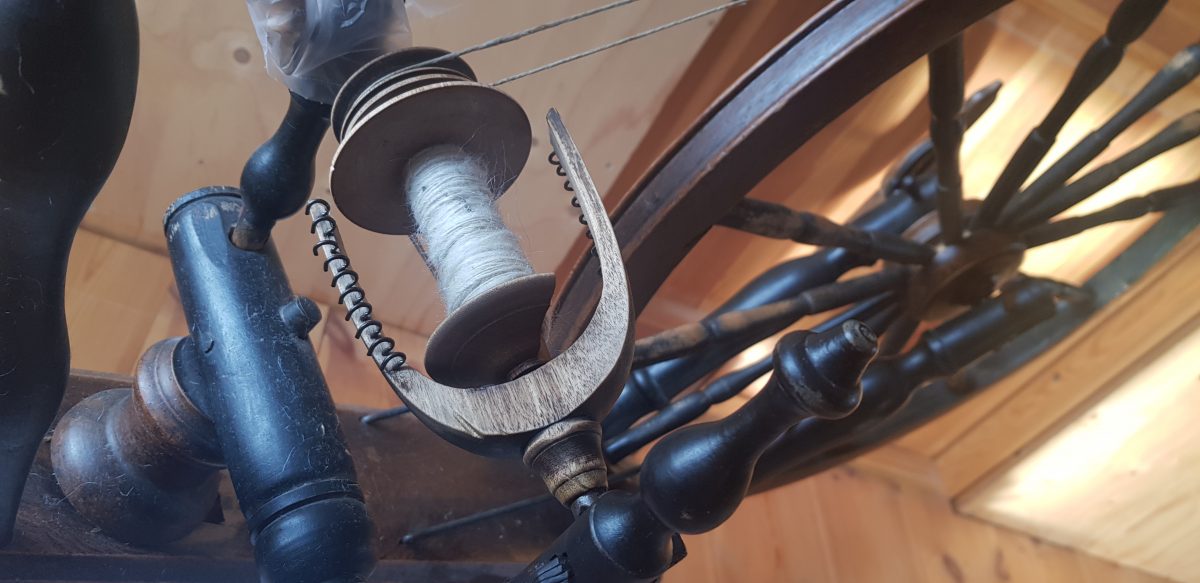
Spinnrockstricks
Jag testar mammas spinnrock och har kommit på ett par tricks: Spänningen på löptråden spelar roll. Man måste hålla emot lite för att få högre “spinntäthet”, och om löptråden är för spänd går den spunna tråden av. Bra att öva på att hålla emot innan man börjar öva på att trampa. Man kan gott köra…
-
Sort empty strings last
You want to sort a list of strings in JavaScript, but some of the strings are empty, and you want those to come last. localeCompare is your friend, but it places empty strings first. The solution is a bit of boolean sweetness: [“foo”, “”, “bar”].sort((a, b) => a && b ? a.localeCompare(b) : !a -…
-

Comma, comma & and
I recently had to concatenate author names with commas and an ampersand in the following manner: commaAnd([‘Emir Jong’]); // becomes: “Emir Jong” commaAnd([‘Kristian Josefsen’, ‘Tetyana Bohuňková’]); // becomes: “Kristian Josefsen & Tetyana Bohuňková” commaAnd([‘Luana Ferreira Carvalho’, ‘Jian Tu’, ‘Ambessa Afwerki’]); // becomes: “Luana Ferreira Carvalho, Jian Tu & Ambessa Afwerki” Here are a few implementations…